

We hope this will inspire you to experiment with what you have in your makeup drawer!
Step 1: With foundation and concealer, we prepped the face covering every inch with a base coat (over the eyes, cheeks, lips, etc.) as if we were going to apply makeup to the whole face. Here I am with just foundation awaiting my Holiday Smokey Eyes! As you will see, the color scheme used for my smokey eye was silver/grey. The shimmer of the silver is a nice way to add a little more Holiday glitz to your makeup routine!

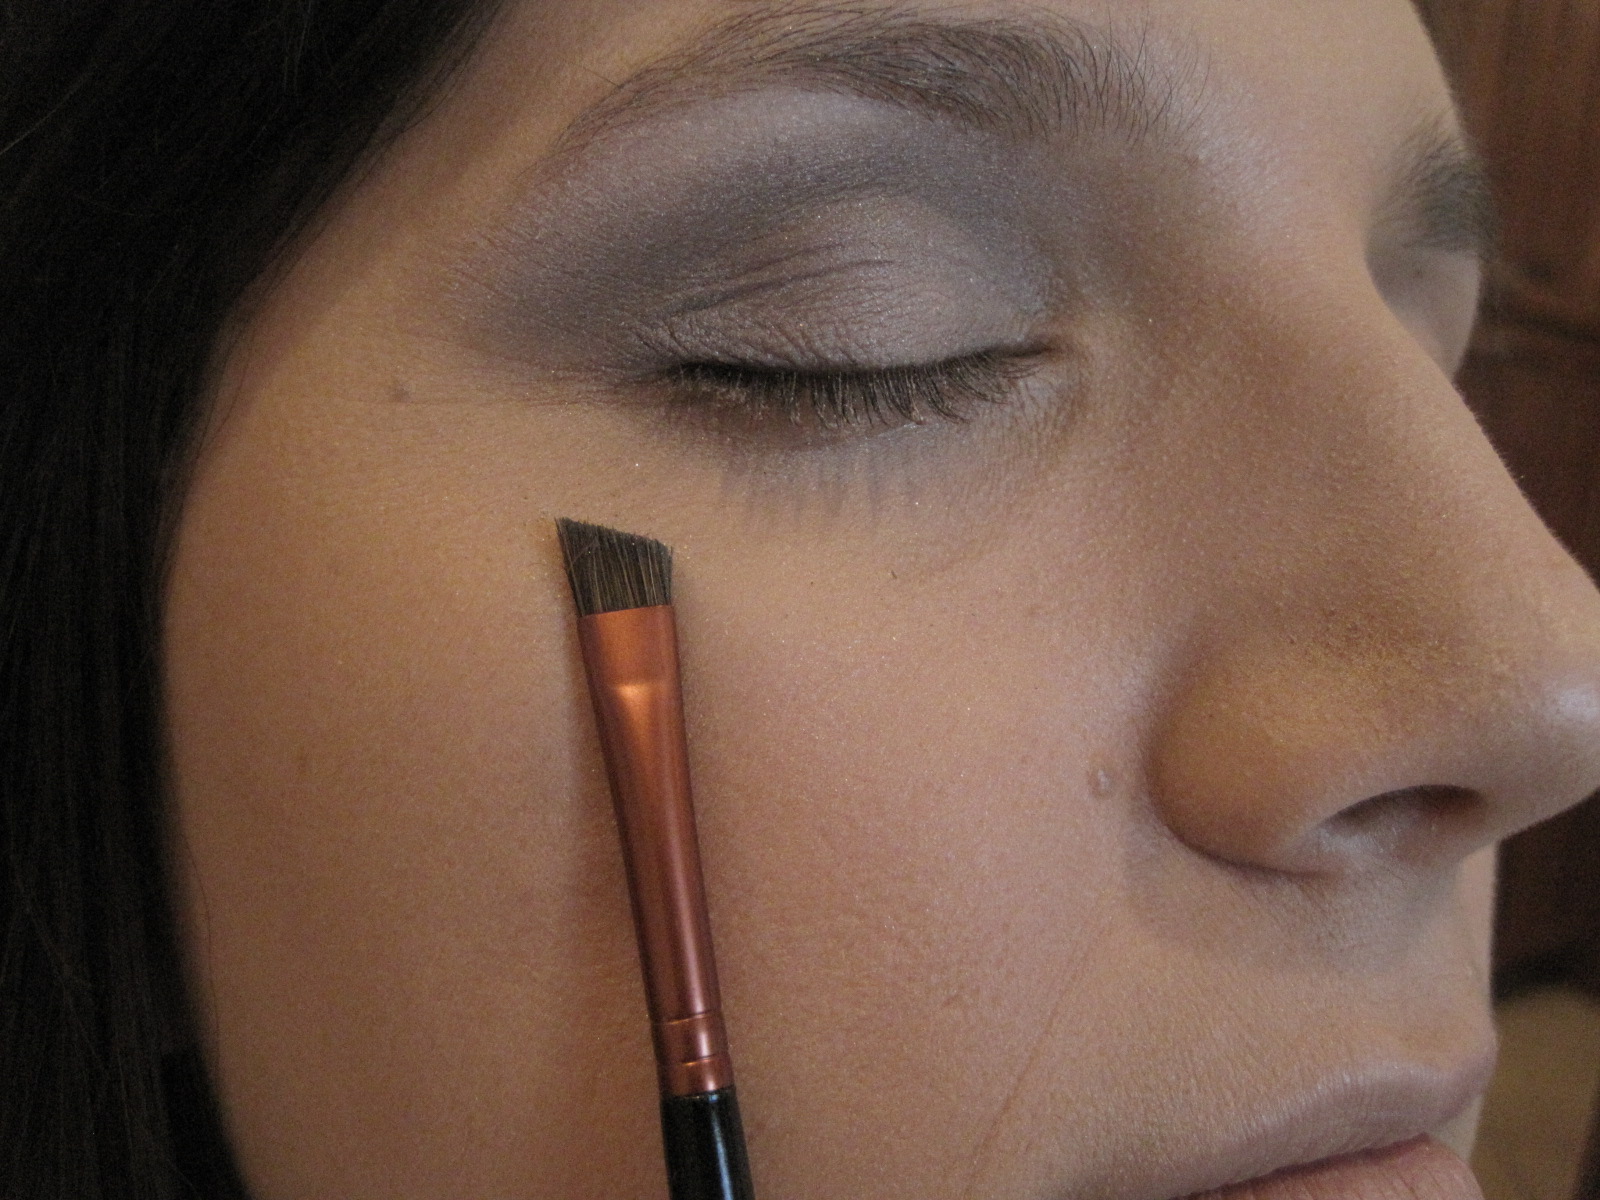
Step 2: With a round brush, apply the medium shade of gray by tapping it to the whole mobile lid and halfway up the crease. Do so with the round brush seen below.


Step 5: This is the last step in finishing off the eyes! With a round fluffier brush, blend, blend, blend by following the lash line and the crease!


Step 6: Once this is done, add your favorite mascara. For drama, add a nice voluminous black one!

Step 7: Finishing the Look. The look was finished by applying some bronzer to the top of the cheekbones, temples and jaw line (it follows the shape of an E along the side of the face). Then, smile and apply rose blush to the apples of the cheeks. Be careful not to lay it on too much...and Voila! This look will have all the people at your holiday party asking how in the world did you succeed in creating a smokey look and manage to get dinner ready as well?!!?! :)


BE INSPIRED!
5 comments:
Nicely done! Good tip about the kleenex underneath; I hate getting sparkly residue under the eye when I rush too much.
jhbalvin at gmail dot com
Thank you, jhitomi! I hope this post has inspired you to create a beautiful smokey eye! I am going to enter you into the giveaway for commenting. Come visit us again!
Love this, and anything makeup art related! Thanks for the step by step with pics!! Looks beautiful!
Wow that is so nice! I will be sure to try this for the holidays! suelee1998 @ gmail.com
Thank you, Susan! Enjoy the holidays wearing the smokey eye look! Be sure to let us know how it turns out! I am going to enter you into the Giveaway for commenting. Check back on Dec. 3rd to see if you are a winner!
Post a Comment